
As always, click on image to enlarge.

1) Thumbnails
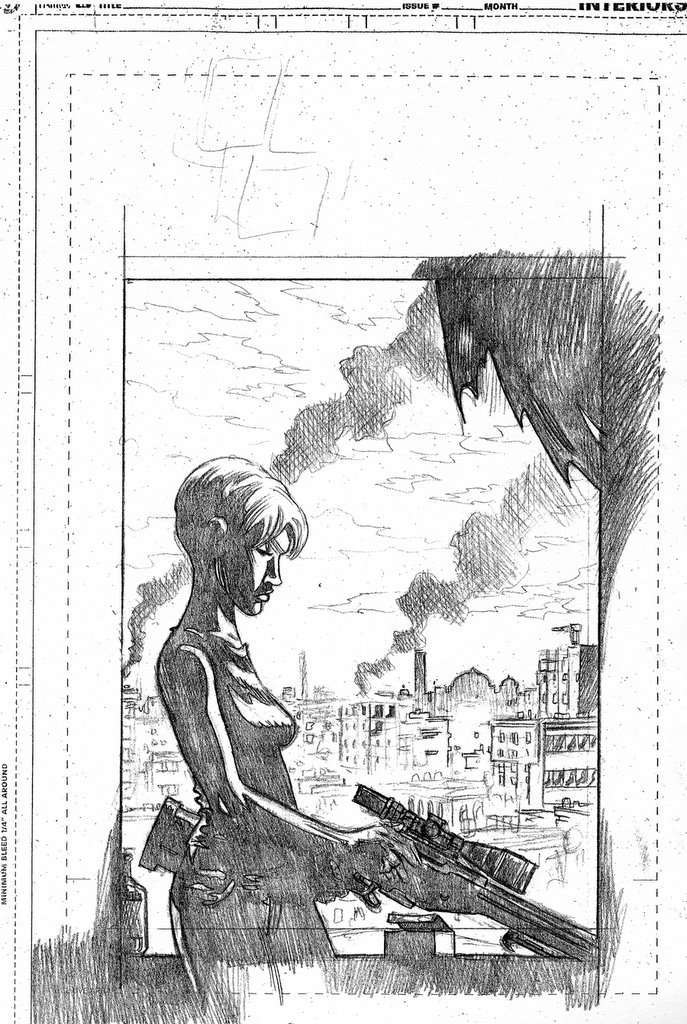 2) Pencils done on a sheet of copy paper (8 1/2"x 11")
 3) Then I blow up the pencils to apprx. 8"x 12" (still, smaller than many artists work at) and lightbox them onto Bristol (in this case Smooth but I usually prefer Vellum finish for interiors). I don't have a scan of just the tight pencils, but, the next closest thing is the above image, which shows the part of the image that I used Sakura's Pigma Micron Pens on.
 4) The rest was done with a #2 round sable brush and Sumi Ink.
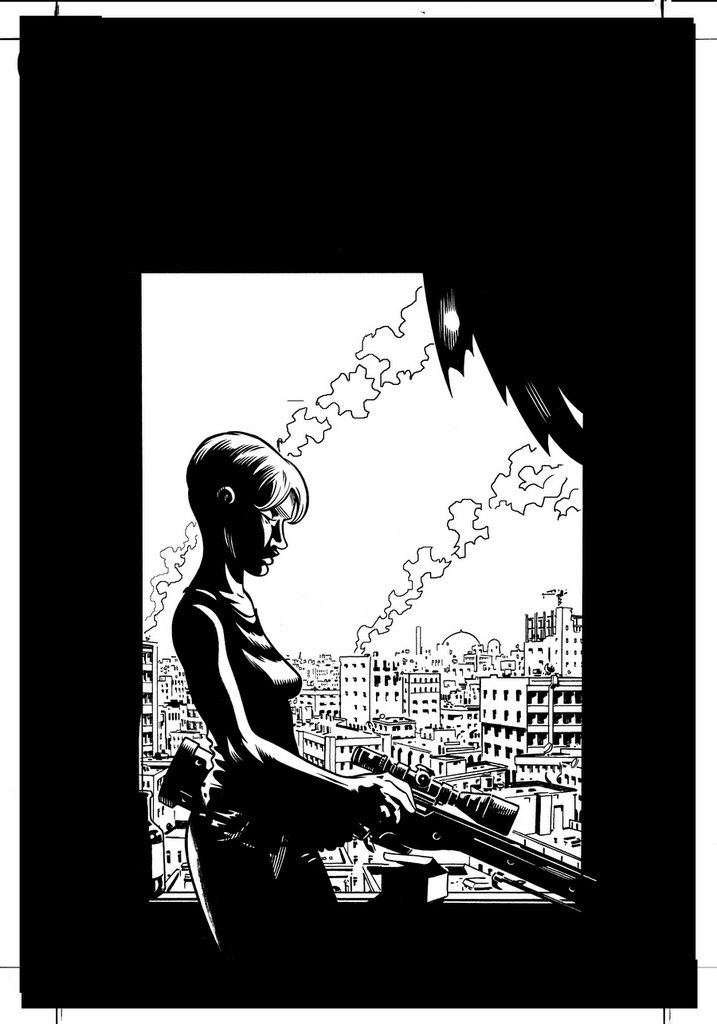 5) Here's the final inked version of the cover (I filled the blacks in Photoshop).
Tomorrow I'll post the final colored version.

2 comments:
Wow...
The non-photoshopped cover is pretty friggin amazing.
The non-photoshopped cover is pretty friggin amazing.
I hope that doesn't mean you dislike the Photoshopped version.:) Outside of the coloring (I hope you like the final color version, BTW) the only thing I did in Photoshop was to fill in the black.
Post a Comment